Guide
What insole bonding is and how it's done in shoe manufacturing
Insole bonding is the step where the insole is permanently joined to the shoe. It looks simple, but it drives comfort, how the inside of the shoe looks and a good share of the solvent fumes on a factory floor. Here's what it involves, where it happens in the process and the methods available to do it well.
Published · 5 min read
Two parts called insoles
Most shoes have two components people call the insole:
- The insole board: the firm base the upper is lasted onto. It's attached to the last before lasting and ends up hidden inside the shoe.
- The sock liner or comfort insole: the layer the foot touches. It can include foam, textile or leather, and it goes in once the shoe is built.
On the factory floor, insoling usually refers to the second one: placing and bonding the sock liner inside the shoe. The principle is the same for both, though: a firm, even, clean bond that doesn't shift, wrinkle or come loose with wear.
Where it happens in the process
In cemented footwear construction, the usual sequence looks like this:
- Cutting: upper parts, linings and insoles are cut.
- Stitching: the upper parts are sewn together.
- Lasting: the upper is pulled over the last and attached to the insole board.
- Sole attaching: the sole is bonded to the lasted shoe.
- Delasting: the last comes out.
- Insoling and finishing: the sock liner goes in, and the shoe is cleaned and prepared for packing.
Every plant has its own variations, but insoling almost always sits near the end of the line, when the shoe already looks finished. That's why mistakes here are so visible: a loose, wrinkled or stained sock liner goes straight to the customer.
Other constructions, such as stitched or welted shoes, follow a different order, but the insole still has to be attached cleanly and firmly.
The traditional method
The conventional approach uses solvent-based shoe cement and runs roughly like this:
- Cement is brushed, rolled or sprayed onto the insole, inside the shoe, or both.
- Operators wait for enough of the solvent to flash off.
- The insole is placed and lined up with the shape of the shoe.
- It's pressed into place, by hand or in a press.
It works, but the costs repeat on every pair: solvent fumes on the line, waiting time, cleaning brushes and pots, and the risk of cement stains inside the shoe. We cover the alternatives in detail in how to remove solvents from insole bonding.
Three solvent-free ways to bond insoles
Kyotex works with three technologies that bond insoles without flashing off solvent:
Pressure-sensitive insole adhesive tape
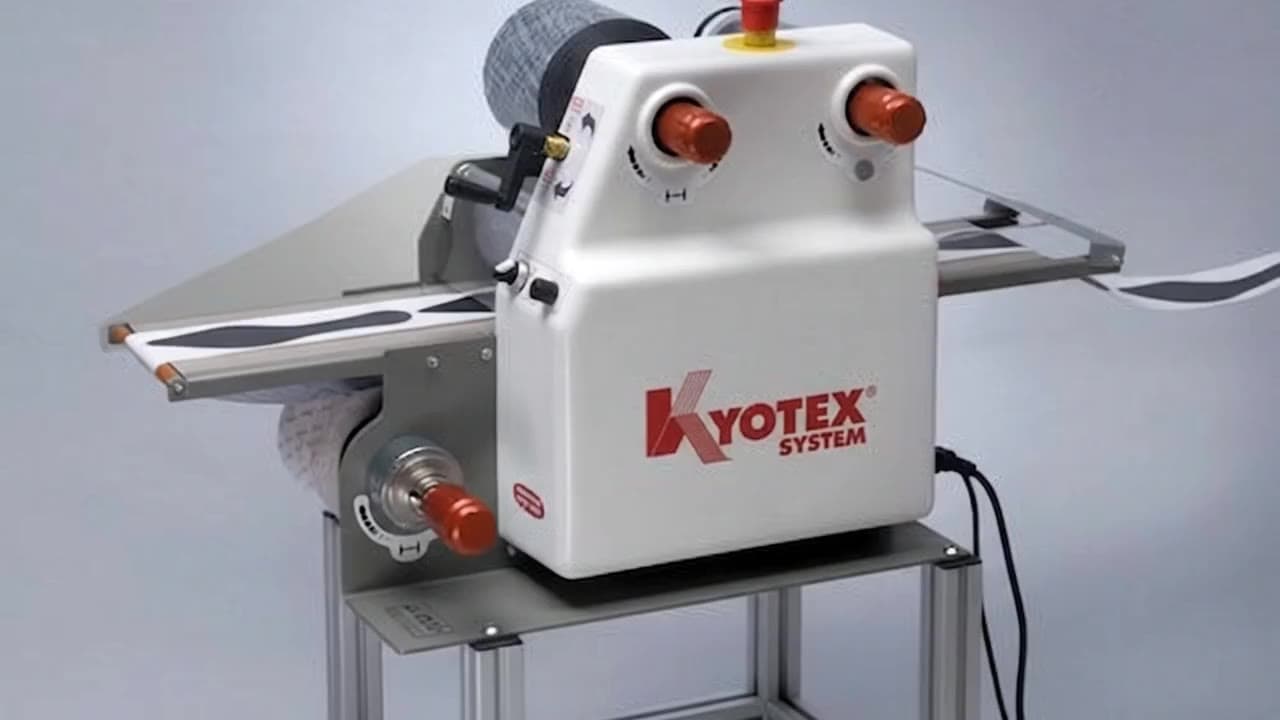
K System tape carries a solid adhesive that works cold and bonds under pressure. It's applied to the material with machines such as the KYO100S or KYO101, which handle widths up to 145 mm (about 5.7 in). At the insole station, operators peel the liner, place the insole and press — no ovens, no open flames and no solvent flash-off.
Hot melt adhesive
K Thermo hot melts melt with heat, are pressed and set as they cool. According to Kyotex, insole bonding is where powder hot melts perform at their best. You need a heat and pressure source, and materials that can handle the activation temperature.
Cold bonding with structural strength
K Next delivers hot melt strength without heating the part. ALC introduced it as a polyurethane-based adhesive tape for structural bonding, built for high-output production cells.
To compare the options side by side, see solvent-free insole bonding.
Prepping insoles off the line
One advantage of pressure-sensitive tape is that it splits insoling into two moments. First, in a prep area, a machine applies the tape to the insole material, evenly and aligned. Then, on the line, the operator simply peels the liner, places the insole and presses.
Because the adhesive is already formed, it can be applied today and bonded later. That lets you get ahead when you have capacity and leaves only the place-and-press step on the line, which is quick and fume-free.
What a good insole bond takes
Whatever the method, a few details make the difference:
- A well-cut insole. If it doesn't match the shape of the shoe, it wrinkles or lifts at the edges.
- A clean, dry interior. Dust, leftover cement or moisture reduce adhesion with any adhesive.
- Good alignment. The insole should sit centered, without overlapping or leaving gaps at the heel or toe.
- Even pressure. Pressure has to reach the whole surface, especially the toe and heel, where insoles tend to lift first.
- Dwell time. Some bonds keep building strength after pressing; follow the adhesive manufacturer's guidance before packing.
- Consistent stations. Use the same pressure and the same steps on every shift, so results don't depend on who's working.
Common problems and how to spot them
- Lifting at the edges or heel: usually too little pressure, too little adhesive in that area or a dirty surface.
- Wrinkles or bubbles: the insole didn't seat properly or doesn't match the shape of the shoe.
- Cement stains: almost always excess liquid cement squeezing out at the edges. With tape or hot melt, the amount of adhesive is already set.
- Solvent odor in the finished shoe: it can mean the solvent hadn't fully flashed off before packing.
Pulling a few random pairs each shift helps catch these problems before they reach customers — and tells you whether the fix lies in the adhesive, the equipment or the work method.
Choosing the method for your line
The right choice depends on your materials, whether they can take heat, the equipment you already have and your production volume. To go deeper, read cold insole bonding: what it is and when to use it and how to choose a shoe adhesive by material. If you run several styles, you don't need one method for all of them: match the method to the materials of each style.
When you're ready for a recommendation for your line, request a quote. Kyotex-Terlan North America works with footwear manufacturers in the US, Canada and Mexico.